Sunday, December 6, 2009

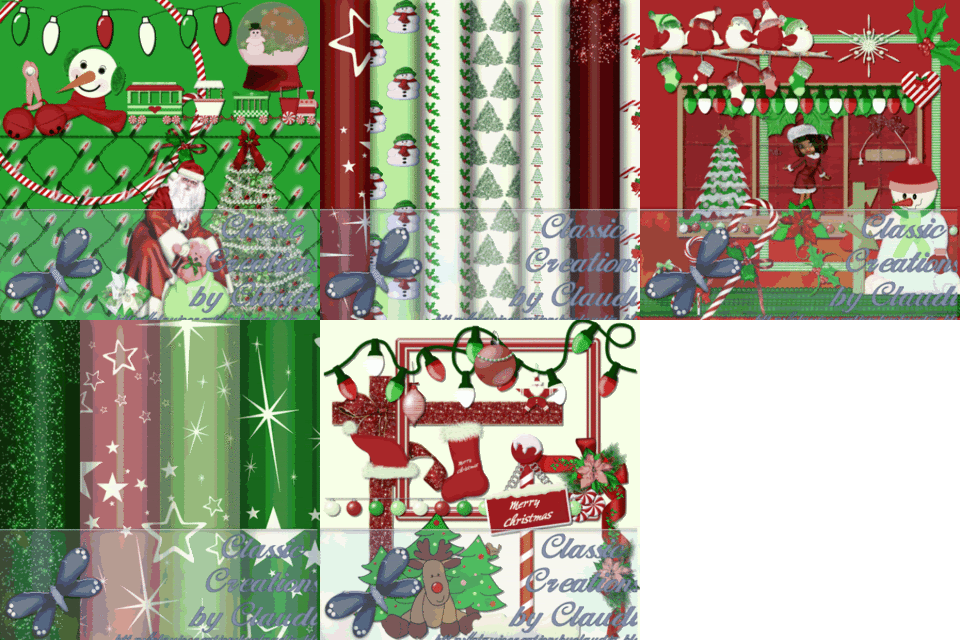
Hard Candy Christmas

"I'll be just fine and dandy, Lord, it's like a hard candy Christmas...."

I always loved that song (and the movie it is from), so that was my inspiration for this new kit. I've been working on it since mid-October, but have been so busy with school. I've never had a semester with so much work--papers, projects, homework, quizzes, exams....Tuesday is my last class for this semester, and finals on Friday and the following Tuesday. Then Christmas break before starting my last semester. Very bitter sweet. I really have loved pursuing my Accounting degree.

But, without further ado, here is the preview for Hard Candy Christmas.

Photobucket

It is available exclusively at GBL Creations. Find it here The cost is only $3.50 and for all that is in that kit, it is a steal!

Personal use only
Not all papers and elements shown
Scrapper size

15 papers
1 candy
6 hearts
1 candy cane
2 tree
1 snowglobe
1 santa hat
2 stockings
9 ornaments
2 strings of ornaments
2 snowflakes
1 Christmas train
5 Christmas lights
1 birds
5 rolling pins
1 ribbon and poinsettia
10 ribbons
2 poinsettias
3 presents
2 snowmen
1 candy ring
3 Merribelle tubes
1 Santa ornament
1 window
2 hollies
2 jingle bells
1 lollipop
1 reindeer
1 sign post
1 Santa
5 frames

I also just realized I forgot to put the TOU in the zip files. My TOU can be found on the store's site, but I want to give credit to the following:


Alo Dezigns http://alodezigns.blogspot.com
Bel Vidotti
Beth Turner www.builtbybeth.blogspot.com
Bonnie Willis http://cancermooncreations.blogspot.com
Cathy Cher
Dana Conditt of Deco-Pages.com
DeBee DeZines http://debeedezines.blogspot.com
Designs by Ali http://designsbyali.blogspot.com/
Graphics by Poka Dot http://graphicsbypokadot.blogspot.com
Joanne http://joannes-digital-designs.blogspot.com
JosDZigns http://josdzigns.blogspot.com
Jules Junk http://www.julesjunk.blogspot.com/
Katelynn's Designs http://katelynnsdesigns.blogspot.com/
©Medi http://medievilcreations.blogspot.com/
Micki http://blog.heavendreams.de
Robyn’s Chic Scraps http://robynschicscraps.blogspot.com

Thursday, October 15, 2009

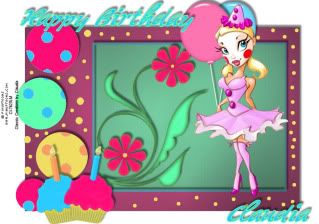
Happy Birthday tutorial

Photobucket

Supplies: PSP

Tube available from HERE .

Template #161 from Designs by Ali, available HERE.

Scrap Kit Birthday Kit by Classic Creations by Claudia available for purchase HERE.

Scrap Kit Birthday Kit Add-on (freebie) available HERE.

Open template; hit Shift D to duplicate template. Close the original template. Delete the designer’s information.

Select Raster 1 and Flood Fill White.

Open paper 6 and resize by 20%. Edit copy. On the template select Raster 2. Selections, Select All; Selections Float; Selections Defloat; Edit Paste as a New Layer; Selections Invert; delete using the delete key on the keyboard. On the layers palate, select the new layer, merge down. Select None. Apply drop shadow of your choice.

Open paper 8 and resize by 20%. Edit copy. On the template select Raster 3. Selections, Select All; Selections Float; Selections Defloat; Edit Paste as a New Layer; Selections Invert; delete using the delete key on the keyboard. On the layers palate, select the new layer, merge down. Select None.

Open paper 9 and resize by 20%. Edit copy. On the template select Raster 4. Selections, Select All; Selections Float; Selections Defloat; Edit Paste as a New Layer; Selections Invert; delete using the delete key on the keyboard. On the layers palate, select the new layer, merge down. Select None. Apply drop shadow of your choice.

Open paper11 and resize by 22%. Edit copy. On the template select Raster 5. Selections, Select All; Selections Float; Selections Defloat; Edit Paste as a New Layer; Selections Invert; delete using the delete key on the keyboard. On the layers palate, select the new layer, merge down. Select None. Apply drop shadow of your choice. Repeat with Raster 8.

Open paper 13 and resize by 22%. Edit copy. On the template select Raster 6. Selections, Select All; Selections Float; Selections Defloat; Edit Paste as a New Layer; Selections Invert; delete using the delete key on the keyboard. On the layers palate, select the new layer, merge down. Select None. Apply drop shadow of your choice.

Open paper 12 and resize by 22%. Edit copy. On the template select Raster 7. Selections, Select All; Selections Float; Selections Defloat; Edit Paste as a New Layer; Selections Invert; delete using the delete key on the keyboard. On the layers palate, select the new layer, merge down. Select None. Apply drop shadow of your choice.

Layer New Raster Layer; chose a color from the kit, I chose the yellow from paper number 12. Flood fill this new layer with that color. Copy and then hide that layer.


Select Raster 9. Selections, Select All; Selections Float; Selections Defloat; Edit Paste as a New Layer; Selections Invert; delete using the delete key on the keyboard. On the layers palate, select the new layer, merge down. Select None. Delete the colored layer you just used.

Copy and paste the tube. If using the one I used, resize by 95%. Place tube over on the right side of the frame (see example). If using the tube I used, place the high heels on the edge of the frame.

Open two balloons. Resize each by 20%. Copy and paste one of the balloons behind the tube layer. Image Free Rotate right 10% and place as if the tube is holding the balloons. Copy and paste the other balloon. Image Free Rotate left 10% and place next to the other balloon. Add drop shadow to both balloons.

Select Flower 4 (from the Add-On kit). Resize by 35%. Copy and paste onto left side of the frame. Drop shadow.

Open the two cupcakes and resize each by 20%. With one cupcake Image Free Rotate left 10% and place on the bottom left of the tag. With the cupcake Image Free Rotate right 10% and place slightly on top of the other cupcake. Drop Shadow.

Choose two colors from the kit and with font of your choice (I used Big Brush One), write Happy Birthday (or whatever you wish). Drop shadow.

Add copyright information and your name.

Merge layers.

Thanks for using my tut!

Claudia

Saturday, May 30, 2009

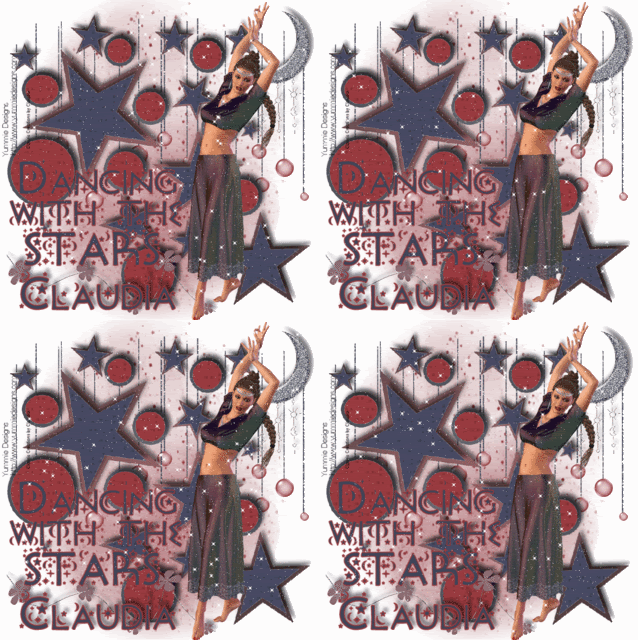
Tag from my latest kit

Here is a tag I made from my latest kit, It's All in the Hips, available here. I hope to have the tut for this tag up in the next day or two.

Photobucket

Friday, April 10, 2009

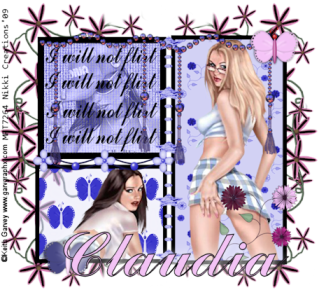
New Tut with one of my older Kits--Thanks Nikki!

Photobucket

Great new tut by Nikki with one of my older kits! Thanks so much, hun. I love it!

Here is the link: Flirt

Tut with Easter Kit

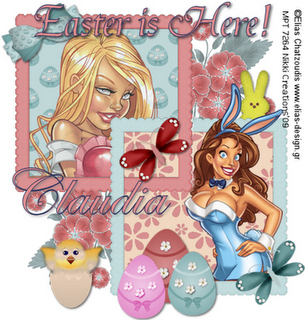
Guess what! A wonderful Tut writer named Nikki used my Easter kit for a tut on her blog! I was so thrilled, as I have recently discovered her blog and had started using some of her tuts. So I was really excited when she wrote one with my kit!

Here is her creation:
Photobucket

I have added a link to her blog on my blog and will work on that blinkie tomorrow, and here is a link for the tut:
Easter is Here

New tags made with Tulips

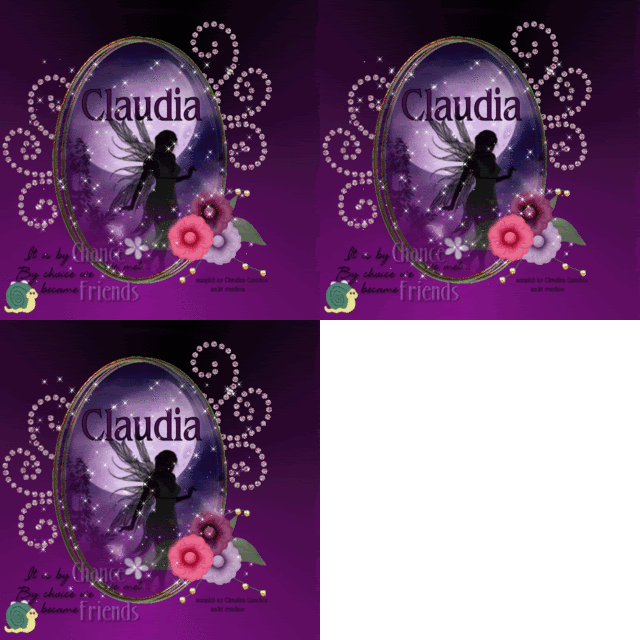
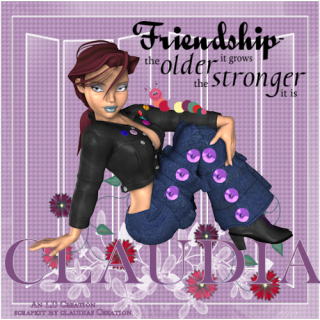
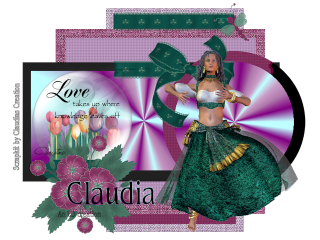
I let Linda have my latest kit before it was available in the store so she could create some tags to show how versatile this kit is. Here are three that she came up with.

Photobucket

Photobucket

Photobucket


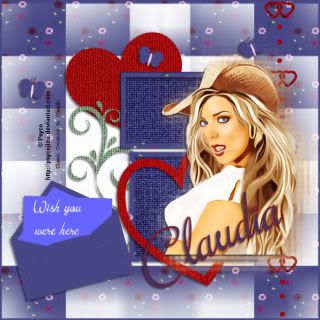
Wish you were Here Tutorial

Photobucket

Tube used by Psycho Jimi, link to his site here. This is a free to use tube, so it is included in my supplies for this kit.

Template #17 by Yvette available here. Look over on the right-hand side of her blog and you will see the download links for her templates.

Also included in the supplies is a mask from my collection. I do not know the designer of the mask, so if it is yours please let me know and I will be pleased to all you in this tutorial and link to your site. Supplies available here.

Freebie scrap kit Pieces of Us, from my blog, available here.

Download scrap kit and supplies.

Open your template. Duplicate by hitting Shift – D. Close the original. Delete the layer with the artist information.

Open your mask.

Delete the background layer. Image—Resize—120%, Resize all layers checked. Image—Canvas Size—700 x 700.

Select the bottom layer of the template. Add New Raster Layer and move to the bottom. Flood fill white.

Select the white layer you just made. Open Paper 5, or paper of your choice, Image—Resize—700 x 700. Edit—Copy and Edit—Paste as a New Layer. Don’t close the paper yet, we will be using it again. Move this layer, with the paper, below the white layer.

Select the white layer. Go to Layers—New Mask Layer—From Image. Select the mask from the drop down menu. Merge group.

Select the heart layer. Selections—Select All—Selections Float—Selections Defloat. Open Paper 6, or paper of your choice. Edit—Copy, Edit—Paste as a New Layer, Selections—Invert, hit the delete key on your keyboard. Selections—None. Effect—add a drop shadow of your choice. I used Vertical 3, Horizontal -3, Opacity 50, Blur 5. Delete the heart layer. Don’t close the paper yet, we will be using it again.

Select the doodle layer. Selections—Select All—Selections Float—Selections Defloat. Open Paper 9, or paper of your choice. Edit—Copy, Edit—Paste as a New Layer, Selections—Invert, hit the delete key on your keyboard. Selections—None. Add a drop shadow. Delete the doodle layer.

Delete the heart frame 1 layer.

Select rectangle 1 layer. Selections—Select All—Selections Float—Selections Defloat. Open Paper 8, or paper of your choice. Edit—Copy, Edit Paste as a New Layer, Selection—Invert, hit the delete key on your keyboard. Selections—None. Delete rectangle 1 layer. Don’t close the paper yet, we will be using it again.

Select frame 1 layer. Selections—Select All—Selections Float—Selections Defloat. Edit—Copy Paper 5, or paper of your choice. Edit—Paste as a New Layer, Selections—Invert, hit the delete key on your keyboard. Selections—None. Add a drop shadow. Delete the frame 1 layer. Don’t close the paper yet, we will be using it again.

Select rectangle 2 layer. Selections—Select All—Selections Float—Selections Defloat. Open Paper 8, or paper of your choice. Edit—Copy, Edit Paste as a New Layer, Selection—Invert, hit the delete key on your keyboard. Selections—None. Delete rectangle 2 layer.

Select frame 2 layer. Selections—Select All—Selections Float—Selections Defloat. Edit—Copy Paper 5, or paper of your choice. Edit—Paste as a New Layer, Selections—Invert, hit the delete key on your keyboard. Selections—None. Add a drop shadow. Delete the frame 2 layer.

Select the heart frame top layer. Selections—Select All—Selections Float—Selections Defloat. Edit—Copy Paper 6, or paper of your choice. Edit—Paste as a New Layer, Selections—Invert, hit the delete key on your keyboard. Selections—None. Add a drop shadow. Delete the heart frame layer.

Open tube, Edit—Copy, Edit—Paste as a New Layer. Image—Resize—60%, Resize All Layers unchecked. Move the tube to the right, placing the bottom of the tube level with the bottom of the bottom frame and the left edge to the right of the heart frame layer. See completed image for placement, if necessary.

Layers—Duplicate. Select the bottom layer of the tube, Image—Resize to 105%, Resize All Layers unchecked. Effects—Texture Effects—Mosaic Glass. Use Grid Settings 50 – 50, Glass Curvature 50, Edge Curvature 0, Grout Width 2, Grout Diffusion 50. Adjust—Blur—Gaussian Blur 3.

Select the top layer of the tube, add a drop shadow.

Open Envelope 1. With white set as background and foreground transparent, select your Text Tool. Type in “Wish you were here,” or whatever message you want. Image—Free Rotate—Right 15. I used Jeffriana JF font. Move the text over the paper in the envelope. Edit—Copy, Edit Paste as a New Layer. Image—Resize—80%, Resize All Layers unchecked. Move the envelope down and to the left (see image for placement). Image—Free Rotate—Rotate Left 15. Add a drop shadow.

Open Doodle Heart. Edit—Copy, Edit—Paste as a New Layer. Image—Resize 115%, Resize All Layers unchecked. Move to the right. Drag layer down below the tube layers.
Open Butterfly 3. Go back up and select the top layer of your image. Edit Copy, Edit Paste as a New Layer. Image—Resize 20%, Resize All Layers unchecked. Layers—Duplicate two or three times. Position butterflies and angle to your liking. Add drop a shadow on each one.

Merge Visible. Add copyright information, and any additional text you wish. I added my name using foreground red, background blue. Image—Free Rotate—Left 25%, add a drop shadow.

You are finished! Thank you for your interest in my tutorial.